



Insurance claims
How an Insurance Roof Claim Really Works
Insurance paperwork is confusing by design. Here’s a plain-language walkthrough of how a roof claim gets paid — and why the lowest bid usually isn’t the best deal.
Claim Payment Process
If your policy includes replacement-cost coverage with recoverable depreciation, your insurance company typically pays your roof in two stages.
Initial Payment
The insurance company issues the first payment after subtracting your deductible and withholding depreciation.
Final Payment
After the roof is completed and the final invoice is submitted, the insurance company releases the recoverable depreciation according to your policy.
So Does a Cheaper Roofing Bid Save You Money?
Usually, no. On a replacement-cost claim, reducing the actual cost of the work can also reduce the amount the insurance company ultimately pays. The difference is generally not money the homeowner simply gets to keep. Your deductible remains your responsibility.
That is why E4 Roofing focuses on something more valuable than playing games with the numbers:
Get the Full Value of the Roof You’re Paying For.
We complete the approved work properly, document the project accurately, and provide the quality and upgrades your claim dollars should purchase. Insurance pays its covered portion. You pay your deductible. We build the roof right.
What to expect
What's in a Typical Adjuster's Report
Every insurer's paperwork looks a little different, but most roof estimates are built from the same core line items.
Roof measurements
Total squares, perimeter, ridge, and hip length — used to calculate material quantities.
Remove & replace roofing
Line items for tearing off the old shingle system and installing new material.
Underlayment & accessories
Felt or synthetic underlayment, ice-and-water barrier, starter strip, and drip edge.
Flashing & ventilation
Valley metal, pipe boots, step flashing, and roof vents — common leak points if done wrong.
RCV, ACV, and Depreciation
The three numbers that determine what your policy actually pays (RCV: Replacement Cost Value — ACV: Actual Cash Value — Depreciation: the withheld portion released after work completes).
Overhead & profit (O&P)
A standard markup line most insurers include when a job requires coordinating multiple trades.
Tax
Sales tax applied to materials, per your state and local rate.
Illustrative only — every claim is different. We’ll walk through your actual estimate line by line when we inspect your roof.
Want to see what a real one looks like?
Here’s an actual line-item roof estimate from a past claim, with the customer’s name and every other identifying detail removed.
RCV / ACV / Depreciation
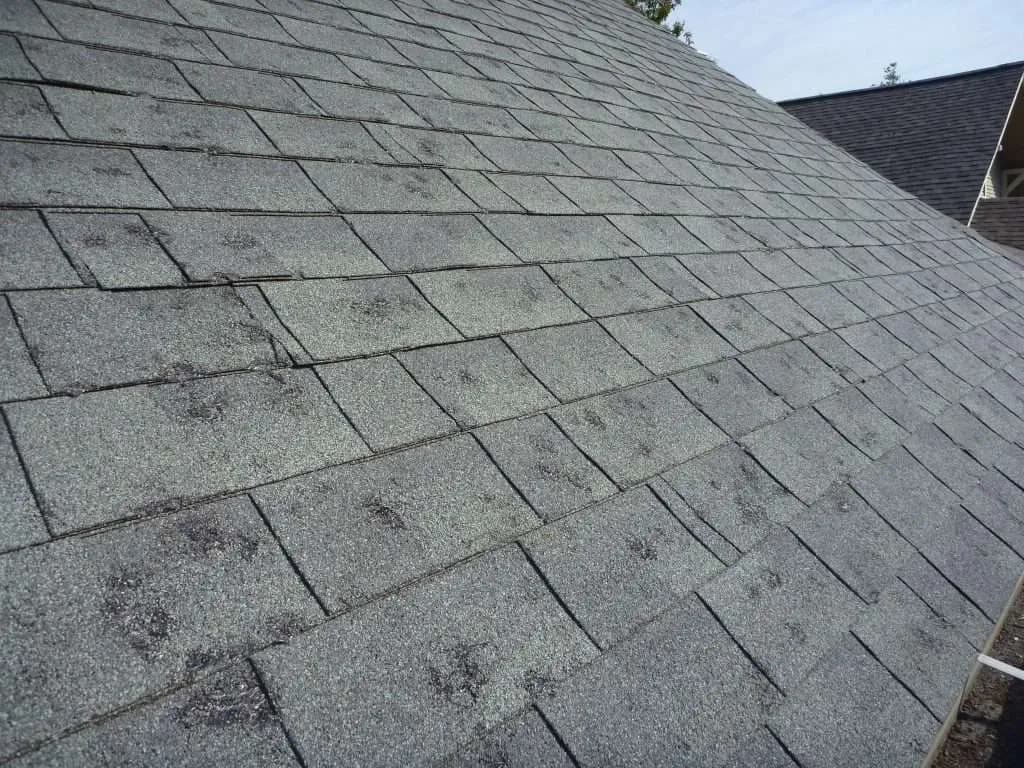



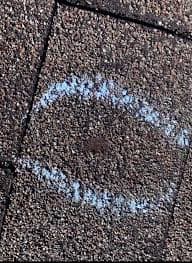
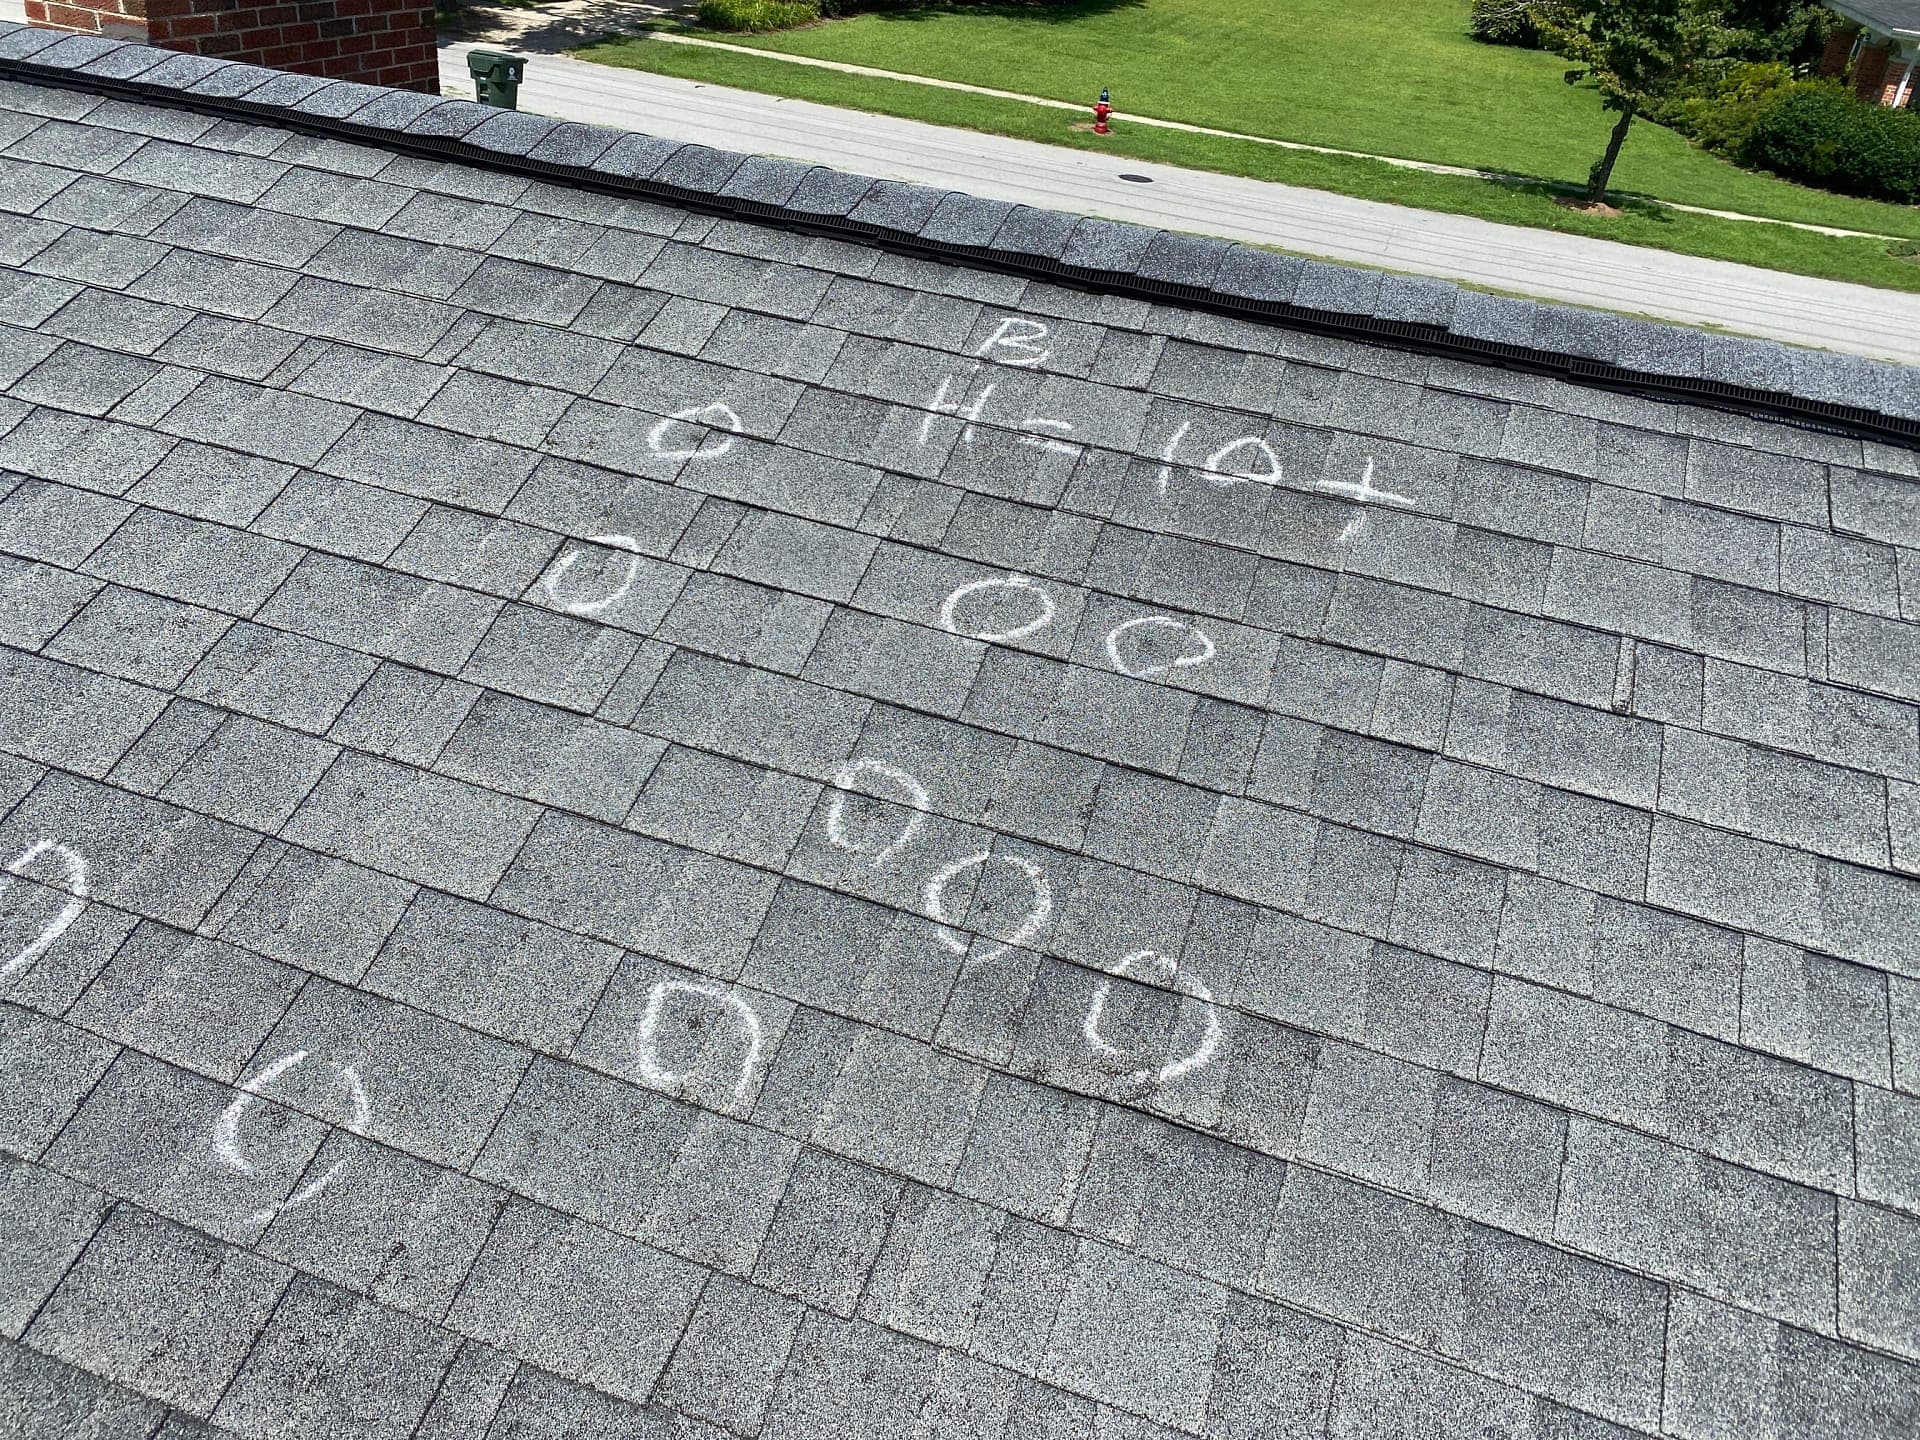
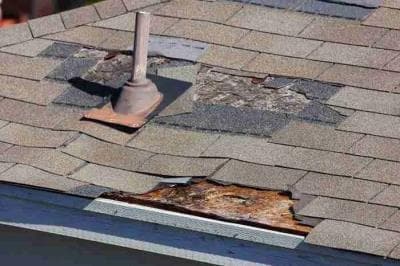
Real hail damage from past claims

RCVReplacement Cost Value
The estimated cost to replace your damaged roof with a comparable new roof, without subtracting for age or wear.
In plain terms
RCV is the fair market value of putting a genuinely comparable new roof on your home at today’s prices — it’s the real cost of the job, before any deduction for your current roof’s age.
DepreciationTemporarily withheld
The portion of the replacement cost withheld because of the roof’s age and condition — often released after the work is completed and documented.
In plain terms
If a lower price gets negotiated on the job, that savings typically comes straight out of the depreciation holdback, not on top of it — so the real total cost of the roof doesn’t actually change, it just shifts which check gets smaller.
ACVActual Cash Value
The amount your roof is worth today after depreciation is deducted from the replacement cost.
Worth knowing
An ACV-only policy usually costs less upfront, but it pays out the depreciated value with no second check later — that gap can leave you covering a significant amount out of pocket at claim time.
RCV − Depreciation = ACV
Your insurer typically pays the ACV first, then releases eligible recoverable depreciation after the roof is completed — subject to your policy terms and deductible.
How E4 helps with your claim
- Documented, photo-based roof inspection to support your claim
- Clear explanation of your estimate in plain language
- Accurate, complete documentation of the completed work
- Direct communication with your adjuster when needed
Filed a claim, or just had a storm come through?
Talk to us before you sign anything. We'll walk the roof and explain your options honestly.